How to Fit a Newel Post
Top tips
Dry fit first
We would always suggest that you dry fit the newel post first of all. Once you have done this and are happy with the fit, only then would we suggest adding the bit of glue to fix everything in place.
Make sure that everything is square
Your newel post is the anchor for the rest of your staircase and if that is out of square then the rest of the flight will follow suit. Make sure that the newel post is 90° to the tread.
No gaps allowed
Make sure that there are no gaps between the post and tenon shoulder, the dowels or bolts should pull this into place.
Once up, leave it
Once the staircase is up and glued, leave it for a while. Allow the glue to fully set before you walk up and down it, this may not sound like much but it can be the difference between your staircase having that one annoying squeak or being forever squeak-free!
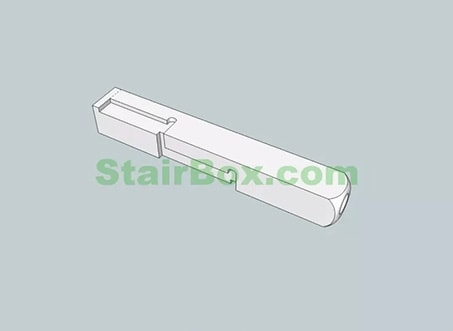
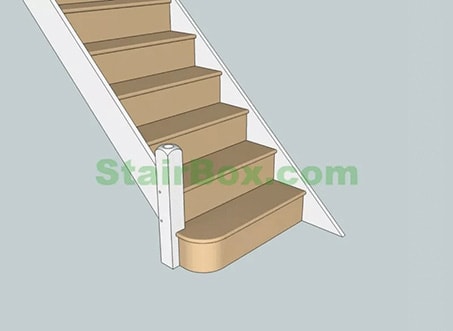
Locate your newel posts
Any newel posts that should be sitting on the floor will already be cut to floor level, the only instance where this would not be the case would be if you have already called us when designing the flight to let us know that a newel needs to go beyond floor level. In this case we will have sent the newel post a little longer than is needed so that it may be amended on site as necessary.
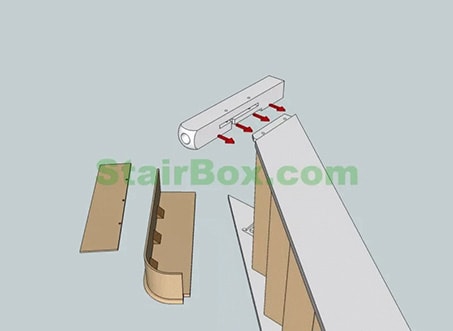
Secure on to the string
Either the dowels or bolts (dependent upon the staircase ordered) are now to be used to secure the newel onto the string. Dowel holes will be offset slightly so as to pull the post tight upon fitting it. Bolt holes should be correct and will naturally pull everything into place nice and tight. Once in place the bolts should be covered using plugs, the same goes for dowels should they be made of a different material.
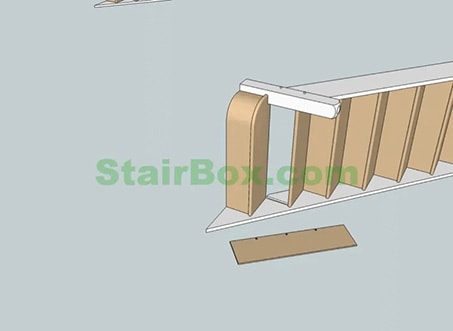
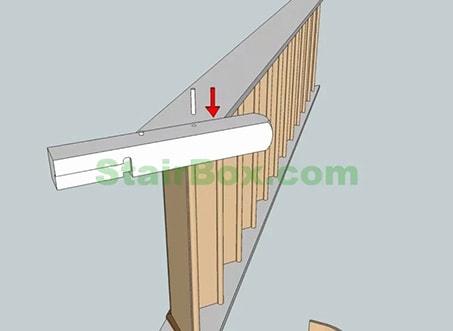
Fit treads and winders around the newel
Additional treads and winders now need to be fitted, once in place slide and fix the risers. Should you have a bullnose step this will need to be glued and screwed into the newel post and the string trenching.
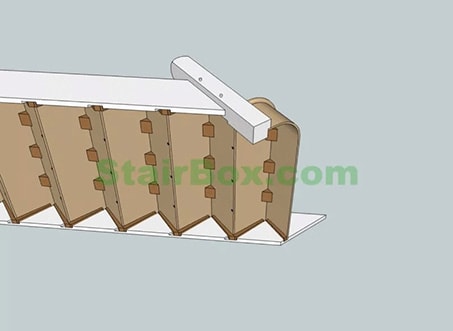
Glue the risers in to place
This stage is very important, and if done correctly your staircase should be forever squeak free! Dry fit each riser around the newel posts, trimming where required. Be aware longer risers are for the kite winders. Once you are happy the riser fits, run a small bead of glue (we recommend PU woodweld or similar) within the newel housing and along the back of the tread where the riser will be screwed. Beware not to over glue this joint, especially if the flight is not being carpeted as the glue can be difficult to remove from the face of your staircase - it’s best to run the bead of glue towards the under edge of the stair.
Screw the risers to the treads
You are now ready to screw the riser to the tread, if your treads and risers are MDF we recommend 40mm screws, on timber 30mm should be ample to fix a 10mm riser. Use 3-4 screws in the pre-drilled holes, be careful not to overtighten or let the screws spin. If screwing into a hardwood tread, you will need to drill a pilot hole approximately 2-3mm in diameter. You can also use 1-2 screws to secure the riser into the newel post housing. The next step is to glue the angle blocks in place with generous amounts of glue, it is very important that these are fixed properly, and the glue is allowed to set before use.


